Install and Configure Oneflow for Dynamics 365
To install and use the Oneflow for Dynamics 365 app:
- The Microsoft user account should have a Global admin role.
- Your Microsoft account needs to have at least one Environment set up.
- Use the same email address for your Oneflow and Dynamics accounts.
Creating an environment
- In your browser, navigate to the Power Platform admin center.
- Select Environments from the side panel and click + New.

- Enter a name for your environment and select its Region and Type.

- Click Save.
Install the Oneflow app for Dynamics
- Open the Oneflow for Dynamics 365 app page and click Get it now.

- Select the environment where you want to install Oneflow and agree to the terms by enabling the checkboxes.

- Click Install.
Select environment
- In Dynamics, click the current app name to access the apps page.

- Select Oneflow Administration.

- On the Get Started tab, select an environment: Production or Test.

- Click Connect Oneflow. You will be redirected to the Dynamics extension page in the Oneflow marketplace.
Production is your live environment for end users and real business activity.
A Test environment lets you experiment safely. You can create a separate Oneflow account for testing at app.test.oneflow.com.
Connect Oneflow to Dynamics
- On the Dynamics CRM extension page, enter your Dynamics CRM instance URL (the URL you use to access your organization’s Dynamics account).

- Click Authenticate with Dynamics CRM to proceed. You’ll be redirected to Microsoft Dynamics 365.
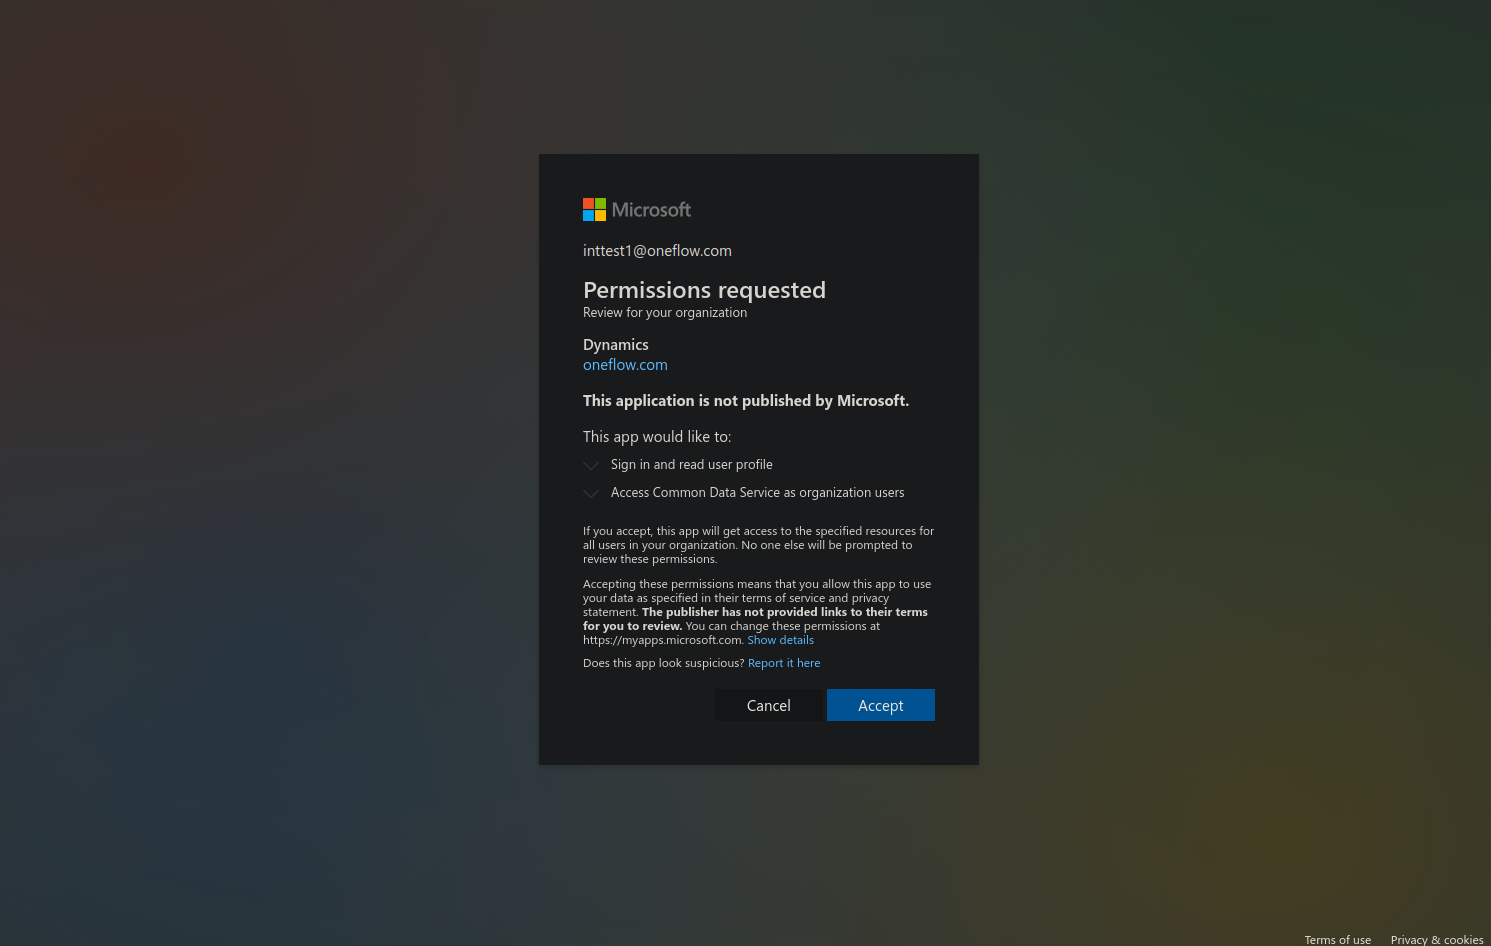
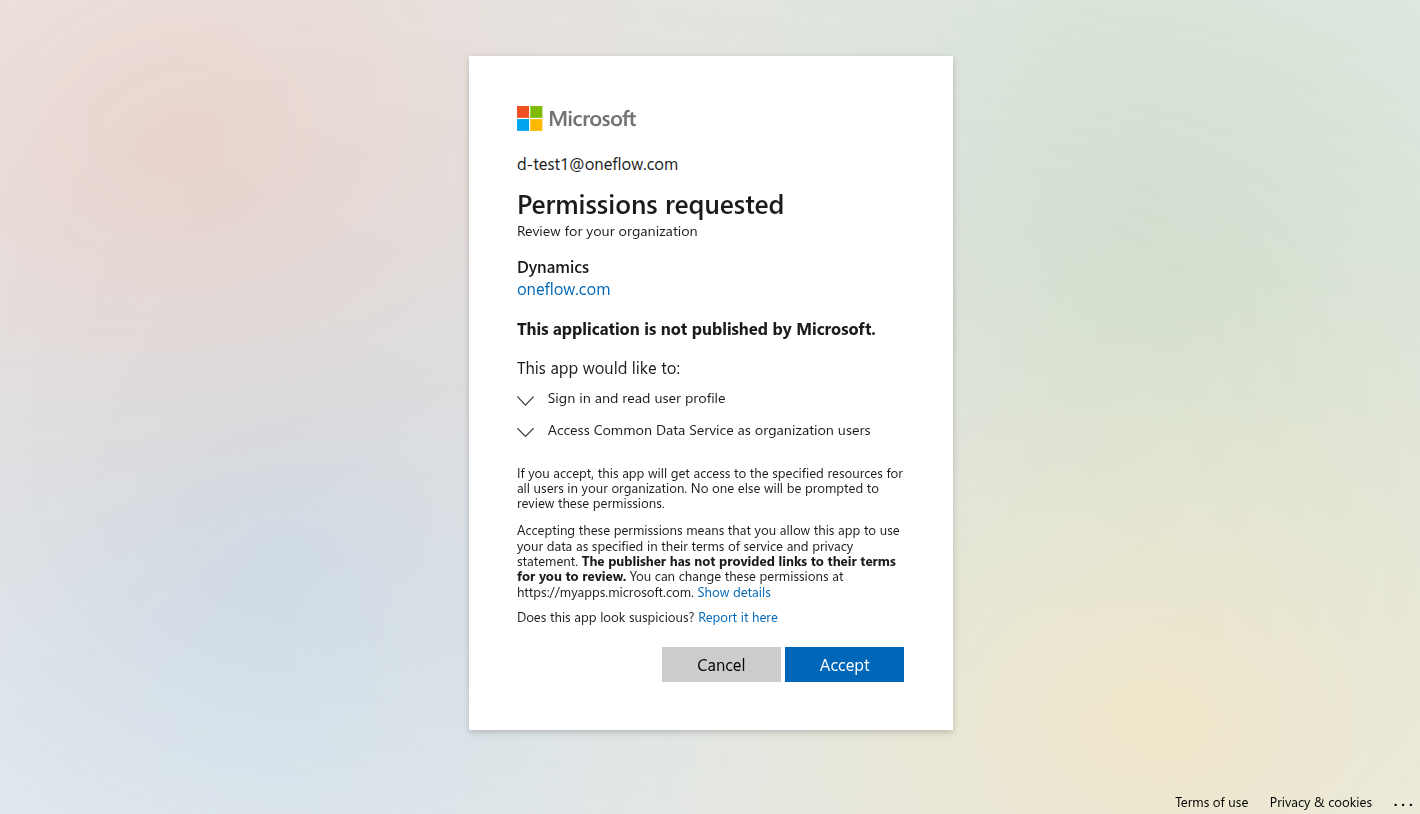
- Sign in to your Microsoft account and click Accept when prompted for permissions.
Upon successful authentication, you will be redirected back to the Dynamics Extension page in Oneflow.
The Microsoft account granting permissions should have Global Admin rights. The authorized Dynamics instance URL will be shown on this page (no need to check the URL for a “status=ok”).
Verify your connection
- In Dynamics 365, click the current app name to switch between model-driven apps.
- Select Oneflow Administration.

 On the Get Started tab, select Production or Test.
- Click Connect Oneflow to verify the connection. A green check mark should appear.

Assigning roles
- Log in to Dynamics 365 and open the Power Platform admin center.
- Click Manage in the sidebar.

- Select Environments and open your environment (Production or Sandbox).

- Click Settings.

- Expand Users + permissions and select Users.

- Select your user name.

- Click Manage roles.

- Select a role and click Save.
• Oneflow User: Access to the Oneflow contract widget inside Dynamics 365 (recommended for most end users).
• Oneflow Admin: Access to the Oneflow Administration Hub to manage configuration (entities, field mapping, sync rules). Note:
Note:
Not all users need Oneflow Admin. Assign this only to users who manage the integration configuration. - Click Save again when prompted.


Create a contract template
- Go to Templates and click Create template, or open an existing template. Alternatively, open the Template library, select a template, and click Confirm.
- Click the Data fields icon. From Template groups, select Dynamics CRM template.


- Click Publish to activate the template. You can now open an Opportunity (or any supported entity) and create a contract.

Add a widget to your opportunity form
To create contracts from an Opportunity (or another entity), add the Oneflow widget to the form. See Add the Oneflow widget to a custom form.
Create a contract in Dynamics
- Log in to Dynamics 365 and open an existing Opportunity (or create a new one).
- On the Oneflow widget, click Create contract.

- In the pop-up, select participants, attach files (optional), then click Create contract.

- The contract information appears in the widget. Click the contract name to open it in Oneflow. Use the arrows to navigate additional contracts for the record.

- To remove Oneflow × Dynamics, disable the Dynamics extension in Oneflow and delete the Oneflow app from Dynamics.
- When you authorize your Dynamics instance in your oneflow.com account, the instance cannot be changed. Create a test account if you want to test before installing in production.
- If you need to change an already associated instance, contact support@oneflow.com.
General settings in Oneflow for Dynamics 365
The General settings page lets you configure how Oneflow works within Microsoft Dynamics 365.
These settings help you connect accounts and contacts, choose how contracts are created, and decide how contracts open inside Dynamics.
Changes made here are saved automatically.
- In Dynamics 365, click the current app name to go to the apps page.

- Select Oneflow Administration.

- On the General Settings tab, expand the sections to configure preferences.
Configure account and contact fields (recommended):

- Select which entity fields in Dynamics CRM correspond to the entities in Oneflow.
- For instance, Oneflow’s “Org. number” field can be mapped to the Account Number field of the Account entity in Dynamics CRM.
Create contract Workspace and template selection:
Enable this toggle if you want to select the Oneflow Workspace and Template each time you create a contract via Dynamics 365. The Workspace and Template fields will be blank upon opening the form, allowing you to select an option of your choice.
If this field is disabled, the Workspace and Template fields will default to the first available option returned by the Oneflow API. This may not match your last-used selection.
- When enabled: The Workspace and Templatefields will ask you to “Select a workspace/template”.
- For each contract you can choose, which Oneflow workspace to use and which Oneflow contract template to use.

- For each contract you can choose, which Oneflow workspace to use and which Oneflow contract template to use.
- When disabled: The workspace and templatefields will be automatically populated with the first workspace and template in the dropdown list. Note
You can still select a different workspace and template, however, they are pre-filled when you open the create contract form.
Contract opening preferences
This setting lets you control your experience when opening an existing Oneflow contract from a record in Dynamics 365.
By default, the Open Oneflow contracts in a new tab toggle is turned off. This provides a seamless, integrated experience where the contract opens within the Dynamics 365 window.
When should you enable this setting?
In some cases, your organization's security policies or browser settings might prevent content from loading correctly inside the Dynamics 365 window.
Enable the Open Oneflow contracts in a new tab toggle if your users experience:
- Issues with Single Sign-On (SSO) when trying to view a contract.
- A blank screen or loading errors due to browser security restrictions.
Toggling this option on will open the contract in a separate browser tab, which typically resolves these types of environmental issues.
Entity setup
- In Dynamics 365, click the current app name to go to the apps page.

- Select Oneflow Administration.

- Open the Setup Entities tab to choose which Dynamics fields correspond to Oneflow fields.

Data fields
Data fields let you populate your Oneflow contracts with data from Dynamics 365 entities. The primary purpose is to transfer data from Dynamics into the contract at the time of creation. Optionally, you can enable two-way sync so changes in Oneflow can be written back to Dynamics.

- Dynamics entity: A related (child) entity with an
N:1relationship to the selected primary entity (e.g., creating contracts from Opportunity and pulling fields from related Contact).- The left panel lists primary entities you’ve enabled for contract creation.
- The Dynamics entity dropdown lists related child entities available for mapping based on your Dynamics relationships.
- This lets you pull data from related entities (e.g., Contact) into a contract created from the parent (e.g., Opportunity).
Dynamics entities currently syncing to Oneflow are shown as Active. To activate an entity, select it in the left panel and toggle it on. You cannot activate entities from the dropdown itself.
- Dynamics field: A specific field from the selected related (child) entity to map into Oneflow.
- Oneflow field: The destination data field in Oneflow.
- Sync direction:
- Sync once: Transfer once at contract creation.
- Dynamics to Oneflow: Keep Oneflow updated from Dynamics.
- Two-way sync: Updates flow both ways (Dynamics ↔ Oneflow).
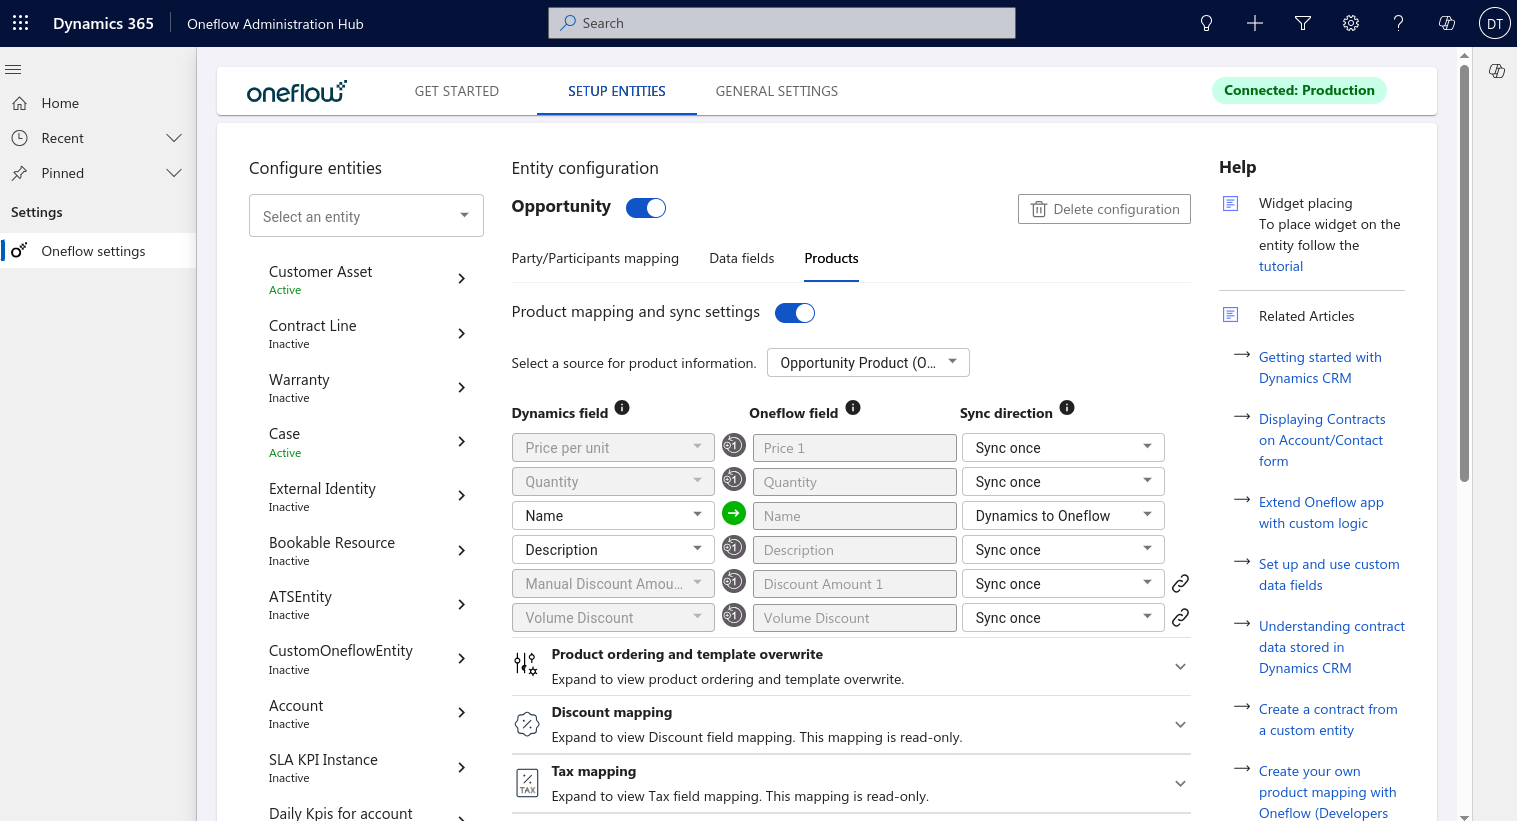
Product fields
Product field mapping syncs line-item product data from Dynamics 365 into your Oneflow contract templates.
- On Setup Entities, select a primary entity (e.g., Opportunity) and open the Products tab.
There are two product mapping behaviors based on the source of product data:
1. Out-of-the-box Dynamics entities (Opportunity Product, Quote Product)
- These entities have fixed discount and pricing logic that cannot be modified.
- Key fields like Quantity and Price are locked and cannot be remapped.
- Bidirectional sync is disabled for most fields due to the product catalog data structure in Dynamics.
You can override how the product list is initially pushed from Dynamics to Oneflow at contract creation, but not the ongoing two-way sync behavior for these entities.
2. Custom product entities (via “Create from Anything”)
- All fields are editable and mappable.
- You can define your own pricing, discount, tax, and freight logic.
- Choose Dynamics → Oneflow (continuous) or Sync once at creation.
Product sync always starts Dynamics → Oneflow. Updates from Oneflow to Dynamics are not supported for product data.
Additional product sync configuration
- Product ordering and template overwrite
- Order products by: Choose the field that defines product sequence in the contract.
- Overwrite template products: Replace template items with synced products from Dynamics.
- Discount, Tax, and Freight mapping
These sections show how these values are sourced from Dynamics. For custom entities, these mappings are read-only, and you can set Sync once or Dynamics → Oneflow as the direction. Syncing back from Oneflow to Dynamics is not available.